

Installing the electric control cabinet for an electric thermal oil heater is a crucial step that requires careful planning, technical knowledge, and adherence to safety standards. As a trusted supplier of Electric Thermal Fluid Heater, Thermal Oil Heater, and Electric Heating Thermal Oil Boiler, I understand the significance of a proper installation process. In this blog, I'll guide you through the step-by-step process of installing the electric control cabinet for an electric thermal oil heater.
Pre - installation Preparations
Before you start the installation, there are several preparations that you need to make.
Site Inspection
First, conduct a thorough site inspection. The location where the electric control cabinet will be installed should be dry, well - ventilated, and away from any potential sources of physical damage or excessive heat. Ensure that there is enough space around the cabinet for easy access during installation, operation, and maintenance. The floor should be level and able to support the weight of the cabinet.
Review the Documentation
Carefully review the installation manual provided by the manufacturer. This manual contains detailed information about the electrical specifications, installation requirements, and safety instructions for the electric control cabinet. Make sure you understand all the technical details and follow them strictly.
Gather Tools and Materials
Collect all the necessary tools and materials for the installation. Common tools include screwdrivers, wrenches, wire strippers, pliers, and a voltage tester. You'll also need mounting brackets, electrical cables, and appropriate connectors. Ensure that all the tools are in good working condition and the materials meet the required specifications.
Mounting the Electric Control Cabinet
Once the preparations are complete, you can proceed with mounting the cabinet.
Select the Mounting Location
Based on the site inspection, choose the exact location for mounting the cabinet. Mark the positions for the mounting holes on the wall or the support structure using a measuring tape and a marker. Make sure the markings are accurate to ensure a proper fit.
Install the Mounting Brackets
Attach the mounting brackets to the marked positions on the wall or support structure. Use the appropriate screws or bolts and tighten them securely. The brackets should be level and firmly fixed to provide stable support for the cabinet.
Lift and Install the Cabinet
With the help of at least one other person, carefully lift the electric control cabinet and place it on the mounting brackets. Align the holes in the cabinet with the holes in the brackets and insert the screws or bolts. Tighten them gradually and evenly to avoid any misalignment.
Electrical Wiring
The electrical wiring is a critical part of the installation process, and it must be done correctly to ensure the safe and efficient operation of the electric thermal oil heater.
Identify the Wiring Diagram
Refer to the wiring diagram provided in the installation manual. This diagram shows how the electrical components in the control cabinet are connected to each other and to the heater. Make sure you understand the color - coding and the function of each wire.
Prepare the Cables
Cut the electrical cables to the appropriate lengths, leaving some extra length for flexibility. Strip the insulation from the ends of the cables using a wire stripper, exposing about 1 - 2 centimeters of bare wire.
Connect the Cables
Start by connecting the power cables to the main circuit breaker in the control cabinet. Follow the wiring diagram to ensure the correct phase and neutral connections. Then, connect the control cables to the various control components such as relays, contactors, and sensors. Use appropriate connectors and ensure that all connections are tight and secure.

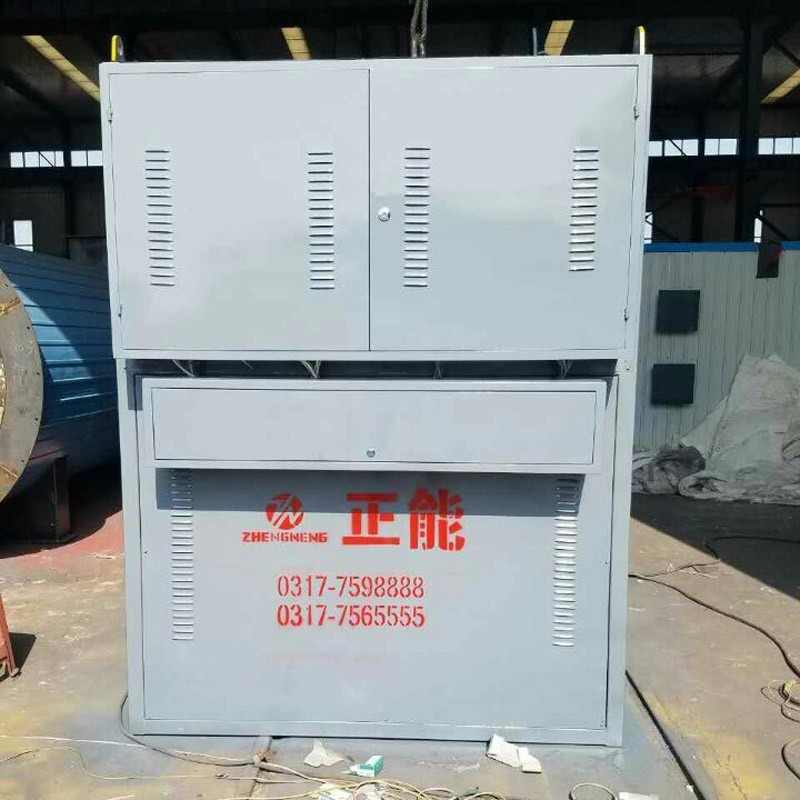
Check the Wiring
After completing the wiring, carefully check all the connections to ensure there are no loose wires or short circuits. Use a voltage tester to verify that there is no voltage present in the cabinet before proceeding further.
Grounding
Proper grounding is essential for the safety of the electric control cabinet and the entire electric thermal oil heater system.
Install the Grounding Conductor
Connect a grounding conductor to the grounding terminal in the control cabinet. The grounding conductor should be of an appropriate size and material as specified in the electrical code. Connect the other end of the grounding conductor to a reliable grounding point, such as a grounding rod or a grounding busbar.
Verify the Grounding
Use a grounding resistance tester to measure the grounding resistance. The grounding resistance should be within the acceptable range specified by the electrical code. If the resistance is too high, check the grounding connection and make necessary adjustments.
Testing and Commissioning
Once the installation and wiring are complete, it's time to test the electric control cabinet and commission the system.
Visual Inspection
Before applying power, conduct a final visual inspection of the control cabinet. Check for any loose wires, improper connections, or damaged components. Make sure all the doors and covers are properly closed and locked.
Power On
Apply power to the control cabinet gradually. Use a voltage tester to check the voltage at various points in the cabinet to ensure that it is within the normal range. Observe the control panel for any error messages or abnormal indicators.
Function Testing
Test the various functions of the control cabinet, such as starting and stopping the heater, adjusting the temperature settings, and monitoring the system parameters. Check if all the control components are working properly and responding to the commands.
System Commissioning
After the function testing, commission the entire electric thermal oil heater system. Run the heater at a low load initially and monitor its performance. Check the temperature, pressure, and flow rate of the thermal oil. Make any necessary adjustments to the control settings to ensure optimal operation.
Safety Considerations
Throughout the installation process, safety should be the top priority.
Wear Personal Protective Equipment (PPE)
Always wear appropriate PPE, such as safety glasses, gloves, and a hard hat. This will protect you from potential hazards such as electrical shock, physical injury, and eye damage.
Follow Electrical Safety Rules
Never work on live electrical circuits. Always turn off the power supply before making any electrical connections or performing maintenance. Use insulated tools to prevent electrical shock.
Keep the Work Area Clean
Keep the work area clean and free of debris. This will reduce the risk of tripping hazards and prevent any damage to the electrical components.
Conclusion
Installing the electric control cabinet for an electric thermal oil heater is a complex but manageable task. By following the steps outlined in this blog, you can ensure a safe and successful installation. Remember to always refer to the manufacturer's documentation, use the right tools and materials, and prioritize safety.
If you are interested in purchasing our high - quality Electric Thermal Fluid Heater, Thermal Oil Heater, or Electric Heating Thermal Oil Boiler, we invite you to contact us for more information and to discuss your specific requirements. Our team of experts is ready to assist you in making the right choice for your heating needs.
References
- Manufacturer's Installation Manual for Electric Control Cabinet
- Electrical Installation Standards and Codes